
I had been compiling parts for this motor for a couple of years. Of course, those who know me know that the best source of 850 parts is Chris Obert. He da man. Anyway, I got a set of oversize pistons and bored the block out to a final displacement of 941cc. My existing engine is a PBS offset bore 965cc with modified oil passages.
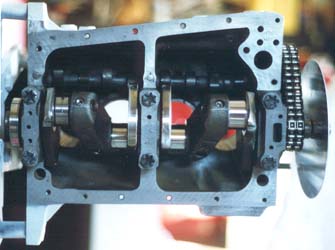
The crank and cam were obviously already installed when this picture was taken. I had also installed the degree wheel so I could dial in the cam. Of course this was just a test installation, it required little bit of modification to fit correctly.
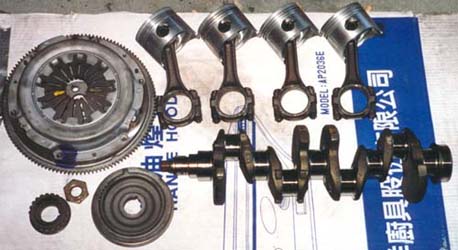
But I've gotten ahead of myself a little bit. I want to stress the importance of balancing the lower end, of ANY engine, not just an 850. It's a little more important on an 850 because it lives at 5000rpm+. FIAT engines in general are very well built. I've seen high mileage SOHC cam engines require little, if any, balancing. Above are all the parts that should be balanced as a unit (the centrifugal oil filter is not pictured). Also note that these are not 850 parts, it is the lower end of my X1/9. The foto on the right is the 850 crank installed in block. You can see where material was removed from the crank to balance it.
One thing I want to highlight is the crank oil passage plugs. When the plugs are removed for cleaning the passages I always replace them with threaded plugs, specifially pipe plugs. If you look closely at the upper right foto you can see the plugs. Why would you want to do this? Insurance. The problem is that they have a tendency to fall out after they have been removed, usually at high rpm. I've never actually had one fall out on me, but why take the chance?
In the case of the Coupe's engine, it required quite a bit of work. The crank was slightly bent and needed a little grind and polish. If you plan on revving your engine over 5000rpm on a regular basis you should at least see where your lower end is with respect to the factory specs. Dynamic loads can be amplified an alarming amount due to eccentricities in the rotating mass.

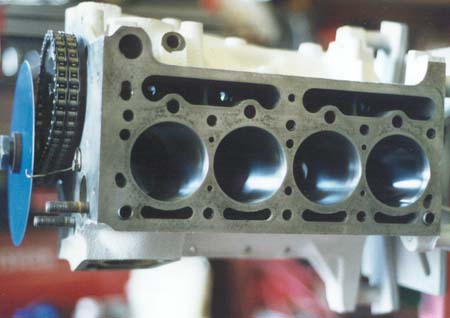
Here's the block with the pistons installed. Note the orientation of the pistons in the block. Also noitice that the pistons are not high compression. The stock compression ratio is already 9.5:1, with the head shaving I would expect that I'm pushing 9.6-9.7:1, so going to high compression pistons would have pushed me well over 10:1. Never mind that they're also not easy to come by, unless you want to spend a pretty penny.
PAINT
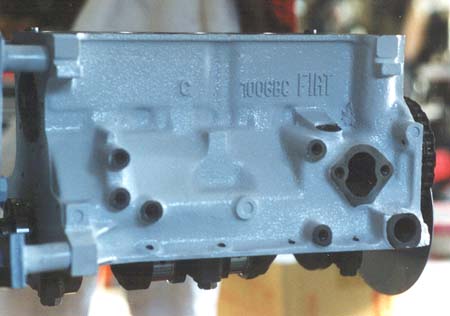
Painting the block is not that different from painting any other part of the car. There is no need for special paints, like the spray can "engine enamel" crap. NO spray can paint will out perform an acrylic enamel or urethane automotive paint. Period. For prep work, the first step is to run it through the parts washer, get all the heavy depsits off. If you have access to a sand blaster that is the best choice. If not you can wash it down with Lacquer Thinner and scrub it with #00 steel wool. After it dries blast it with air to get any lingering steel wool fibers off and you're ready for paint. Don't forget to carefully mask off all machined areas.
The paint used for the block was supposed to be at least close to the original FIAT gray. I picked it from a color chip at the Automotive paint shop. Boy was I wrong! It's almost white. This has since become the color of choice for all my blocks. Partly because I bought a quart of it, and partly because it grew on me. You've gott have a lot of confidence in you engine building skills to paint the block a color that shows oil leaks and dirt. :o)
More to come.
![]() Back
to the Fiat 850 Page
Back
to the Fiat 850 Page
 Home
Home